Viewer
Source Distribution#
The ECM Viewer application is available as source code from our Gitlab server.
Binary Distribution#
Also, a precompiled version is available as docker image from the public registry. The application consists of four parts:
- The viewer-backend, which controls the camera and streams the images to a grpc interface.
- The frontend provides a
vue.jsbased web-application, which is hosted on the camera itself. It can be accessed via web-browser from any remote host, without the need to install any application locally. - The grpcwebproxy translates gRPC-web (used by the fronted) to gRPC (provided by the backend).
- The filebrowser container is used to serve a web frontend for accessing recordings on the camera.
Use the following docker-compose file for downloading and starting up the pre-build viewer application:
# docker-compose.yaml

version: '3'
services:
  backend:
    image: 3dvl/ecm-viewer-backend:latest
    volumes:
      - ./record:/record
      - ./config:/config
    deploy:
      resources:
        reservations:
          devices:
            - driver: nvidia
              count: 1
              capabilities: [gpu]
    security_opt:
      - "systempaths=unconfined"

  frontend:
    image: 3dvl/ecm-viewer-frontend:latest
    ports:
      - 8080:80

  grpcwebproxy:
    image: 3dvl/ecm-viewer-grpcwebproxy:latest
    environment:
      GRPC_BACKEND_ADDRESS: backend:54321
      GRPCWEB_SERVER_PORT: 8096

  filebrowser:
    image: 3dvl/ecm-viewer-filebrowser:latest
    volumes:
      - ./record:/srv #Change to match your directory
    environment:
      - PUID=$(id -u)
      - PGID=$(id -g)
Downloading and starting the application#
You should store the application on the C7 smart camera in a dedicated folder,
e.g. ~/viewer/docker-compose.yaml. The viewer can be started, via the
docker compose command (user privileges are sufficient):
# shell commands on camera (e.g. via ssh)

~$ cd ~/viewer
~$ docker compose up -d
[+] Running 33/33
 ✔ filebrowser 10 layers [⣿⣿⣿⣿⣿⣿⣿⣿⣿⣿]      0B/0B      Pulled                                                                                                                                                   6.4s
   ✔ 52f827f72350 Pull complete                                     0.5s
   ✔ 1460036581e6 Pull complete                                     0.6s
   ✔ 8f5a82bb5ad5 Pull complete                                     0.4s
   ✔ f6afcc03ee1e Pull complete                                     1.5s
   ✔ 0b6f9c1f571b Pull complete                                     0.9s
   ✔ 13671ebe2b45 Pull complete                                     1.2s
   ✔ b7929ee0d1ad Pull complete                                     1.3s
   ✔ 7731a53b1318 Pull complete                                     1.6s
   ✔ 3e9f14276072 Pull complete                                     1.7s
   ✔ b631e0bcabab Pull complete                                     1.9s
 ✔ backend 5 layers [⣿⣿⣿⣿⣿]      0B/0B      Pulled                15.8s
   ✔ 1b9f3c55f9d4 Pull complete                                     3.3s
   ✔ 3d05542c6084 Pull complete                                     3.0s
   ✔ 877c4fd94c30 Pull complete                                     5.0s
   ✔ 4335987741b3 Pull complete                                     4.8s
   ✔ f3f649dcb518 Pull complete                                     3.7s
 ✔ frontend 10 layers [⣿⣿⣿⣿⣿⣿⣿⣿⣿⣿]      0B/0B      Pulled        11.9s
   ✔ 94e9d8af2201 Pull complete                                     4.6s
   ✔ b05dc7cf820c Pull complete                                     4.7s
   ✔ e8ce74dc5743 Pull complete                                     4.7s
   ✔ b27f0524ecb5 Pull complete                                     5.1s
   ✔ 38a035cf7b4e Pull complete                                     5.1s
   ✔ f6422b845e81 Pull complete                                     5.1s
   ✔ f102cf4fb07b Pull complete                                     5.5s
   ✔ 95549660ebc3 Pull complete                                     5.8s
   ✔ f1fafadc876c Pull complete                                     6.5s
   ✔ eed58d17dffd Pull complete                                     5.9s
 ✔ grpcwebproxy 4 layers [⣿⣿⣿⣿]      0B/0B      Pulled             6.7s
   ✔ 6e771e15690e Pull complete                                     2.1s
   ✔ 07a8bc55ce68 Pull complete                                     2.3s
   ✔ 67416ab2c4b6 Pull complete                                     2.7s
   ✔ 3a435aa8ec54 Pull complete                                     2.8s
[+] Running 5/5
 ✔ Network viewer_default           Created                         0.2s
 ✔ Container viewer-grpcwebproxy-1  Started                         0.7s
 ✔ Container viewer-filebrowser-1   Started                         0.7s
 ✔ Container viewer-backend-1       Started                         0.7s
 ✔ Container viewer-frontend-1      Started                         0.7s
Connecting to the application#
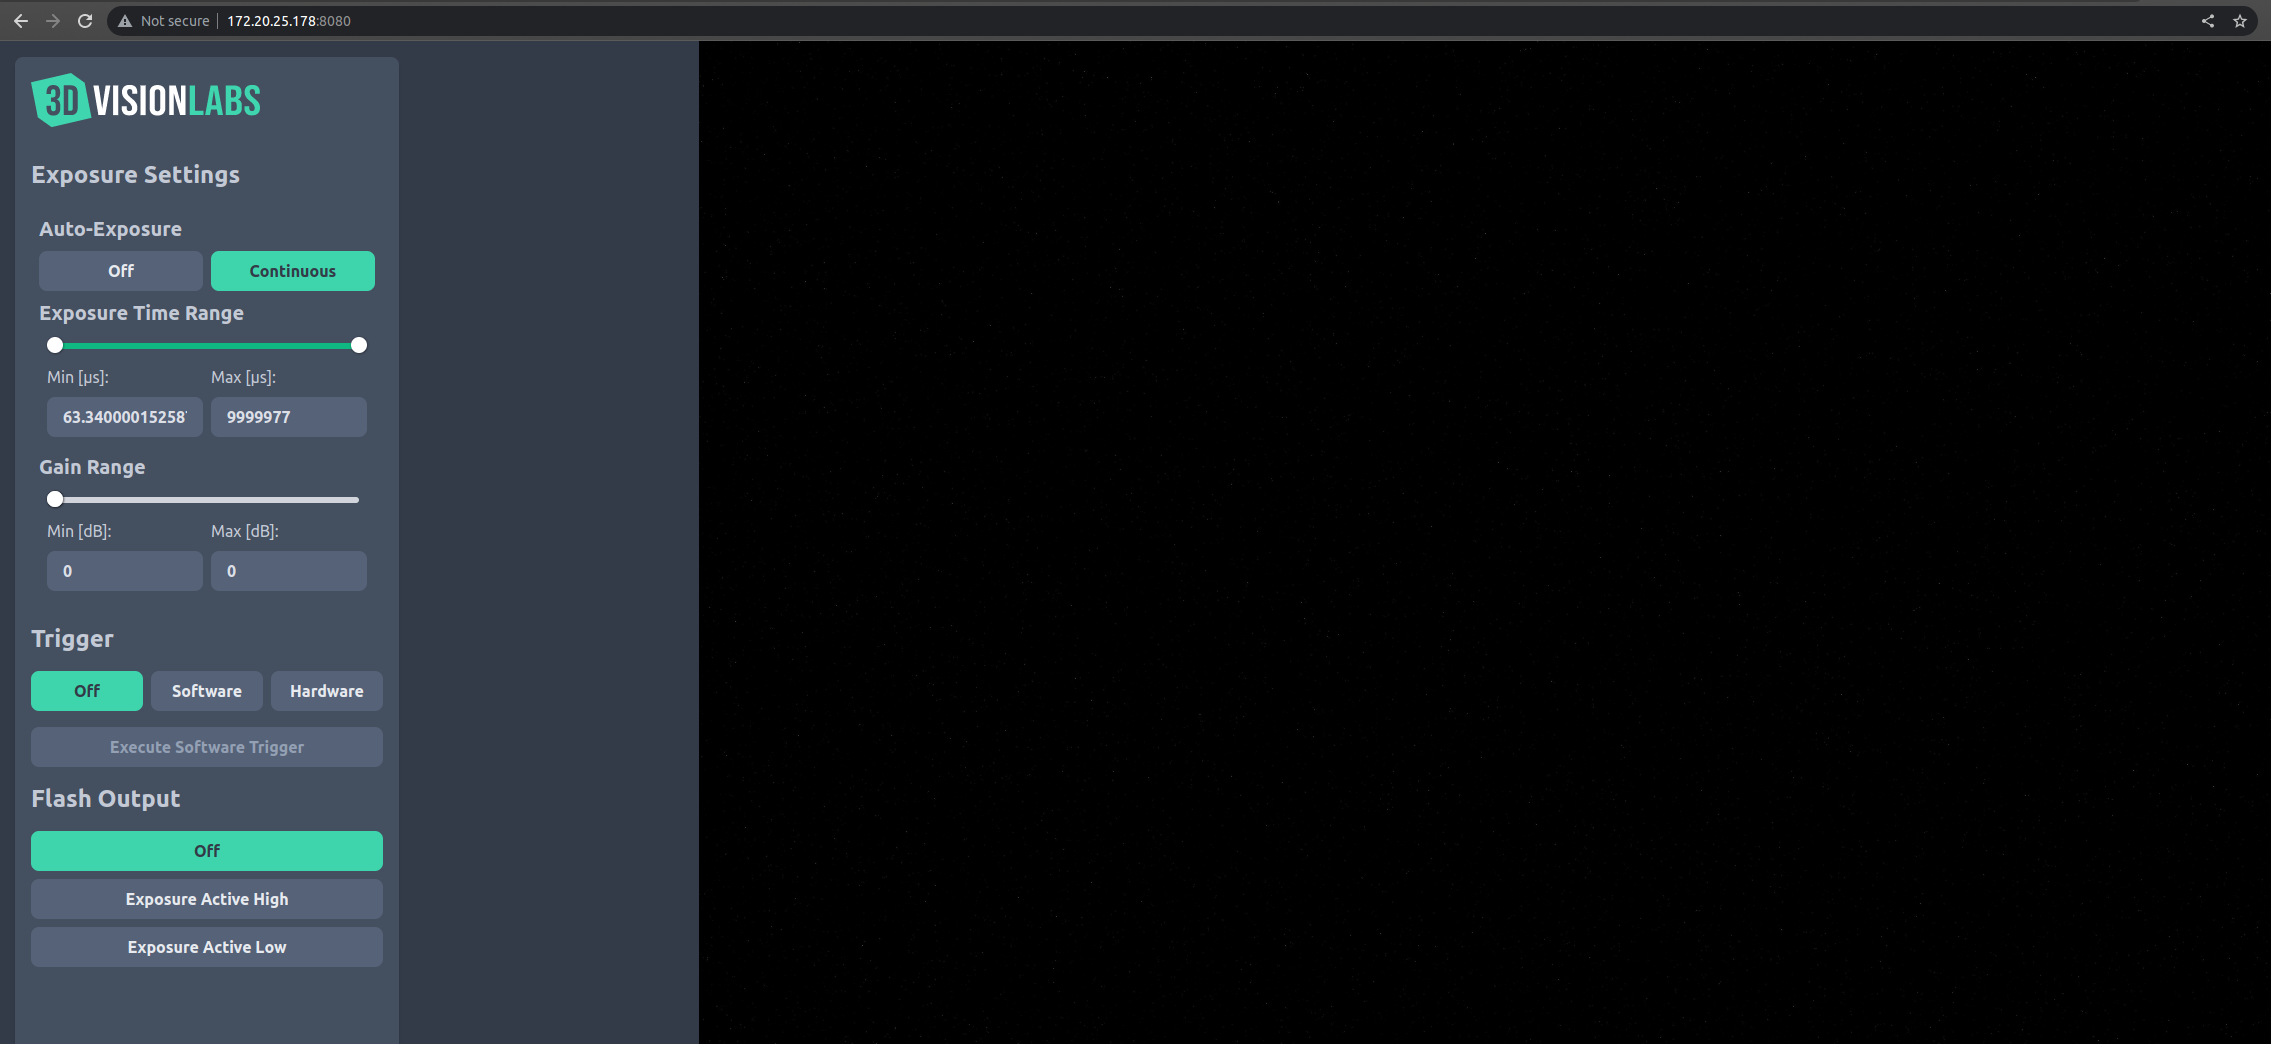
You can simply access the viewer application at port 8080 with your
favorite web-browser (we are testing Firefox and Chrome) on the camera's
IP-address in your local network.